Usually, a Flat Pack Container House is easier to transport than a fully assembled unit, but assembly is only straightforward when the delivery route, site, lifting equipment, and manufacturer’s instructions are suitable. If you are comparing flat pack container house transport and assembly options, planning how to transport a flat pack container house, or checking how to assemble a flat pack container house, focus on the actual package dimensions and installation method—not the product name alone. A modular building or prefabricated unit still needs a suitable foundation, a safe lifting plan, and checks by a qualified professional where required; a container home is not automatically a certified freight container.

Transport can be more practical when the supplier ships components in a compact, bundled form rather than delivering a complete room-sized module. That does not guarantee fewer trips, lower freight cost, or access to every site: package dimensions, total weight, truck limits, unloading space, road restrictions, and local permits all matter.
Assembly may be manageable for a trained installation crew following the supplied drawings. It is not safe to assume that a homeowner can assemble every model with basic hand tools. Some designs need a forklift or crane, temporary bracing, specialist connections, electrical or plumbing work, or an inspected foundation. Ask the manufacturer for the exact installation method before ordering.
Ask WZH Group—or any supplier you are considering—for model-specific drawings, packing details, lifting instructions, and installation requirements. Do not treat a general brochure or photograph as a substitute for project documents.
Before placing an order, get the documents and people needed to plan the work. This reduces the chance of a truck arriving before the site is ready or a crew discovering that the supplied tools do not match the connection system.
Use the supplier’s list as the controlling list. Depending on the design, the crew may need rated lifting equipment, slings or other approved rigging, a forklift, a level, measuring tape, suitable spanners or impact tools, specified fasteners, temporary bracing, sealant, personal protective equipment, and barriers to keep people clear of the work area. Do not select lifting gear by appearance: its rating and configuration must suit the load and the manufacturer’s lifting instructions.
Prepare a firm, accessible unloading area and a foundation built to the drawings. Keep the assembly zone clear enough for safe handling of the largest component. Confirm utility locations and underground services before excavation or anchoring. Local building, electrical, and planning requirements vary, so check with the relevant authority before work begins.
The sequence below is a planning framework, not a replacement for the model-specific manual. If a step conflicts with the supplier’s approved drawings or local regulations, stop and get written clarification before proceeding.
Tools: Supplier packing list, tape measure, site plan, delivery-vehicle specifications, and a camera or phone for recording access conditions.
Action: Match each listed bundle to its dimensions and weight. Measure the route from the public road to the unloading position, including gates, turns, slopes, overhead clearance, and any narrow access points. Give the route information to the carrier and ask it to confirm vehicle suitability.
Parameters: Use the package measurements, vehicle limits, and route restrictions confirmed by the supplier, carrier, and relevant authorities. Do not estimate weight from a product photo or use finished-house dimensions as package dimensions.
Check: Obtain written confirmation of the delivery vehicle, unloading location, and any access or permit requirements.
If it fails: Pause dispatch. Ask the supplier and carrier about an alternative vehicle, split delivery, revised unloading point, or approved handling plan. Do not attempt an improvised roadside transfer.
Tools: Approved foundation drawings, measuring equipment, level or survey equipment appropriate to the specified tolerance, site-clearance tools, and utility-location information.
Action: Clear the work area, verify underground services, and build the foundation and anchors to the project drawings. Arrange safe access for the delivery vehicle and lifting equipment.
Parameters: Follow the stated foundation type, dimensions, anchor locations, and level tolerances for the exact model. There is no universal foundation specification for every flat pack unit.
Check: Compare the completed foundation with the drawings before delivery. Record measurements and resolve discrepancies with the supplier or project professional.
If it fails: Do not compensate by forcing panels or connections into place. Correct the foundation or obtain an approved written adjustment before unloading and assembly.
Tools: The specified forklift or crane, inspected and appropriately rated rigging, the manufacturer’s lifting instructions, barriers, and personal protective equipment.
Action: Have a trained operator unload each bundle at the designated point. Use only approved lifting points and keep workers clear of suspended loads and pinch zones. Never stand beneath a suspended component.
Parameters: Follow the component weight, lifting configuration, equipment capacity, and operating limits stated by the supplier and equipment documentation. The safe working load (SWL) must be appropriate for the actual lift and rigging arrangement.
Check: Inspect bundles for impact damage, water exposure, missing labels, or shifted contents. Photograph and record problems before moving or opening affected packages.
If it fails: Stop handling damaged or unstable loads. Secure the area and contact the carrier and supplier for instructions; do not lift from unapproved points or repair structural damage without authorization.
Tools: Packing list, assembly drawings, labels, marker, camera, and a clean area for sorting components.
Action: Lay out parts by the drawing sequence and identify panels, frames, connectors, fasteners, doors, windows, and service components. Keep small parts in labeled containers and protect them from weather and contamination.
Parameters: Use the supplier’s part numbers and drawing references. Do not substitute a visually similar bolt, bracket, or panel.
Check: Reconcile the delivered items against the packing list before structural assembly begins.
If it fails: Photograph the shortage or mismatch and request the correct part or written supplier guidance. Avoid modifying a component to make it fit.
Tools: The model-specific manual, specified hand or power tools, approved fasteners, temporary bracing, level, and measuring equipment.
Action: Follow the drawing sequence. Set and brace the first structural elements as instructed, then install the remaining frame and panels. Keep the structure supported until the manual confirms that the relevant connections are complete.
Parameters: Follow the stated orientation, connection sequence, fastener type, and torque values where provided. Do not invent a torque setting or assume that tightening every bolt as hard as possible is correct.
Check: Confirm alignment, plumb, square, and connection completion at the inspection points identified by the manufacturer.
If it fails: Stop if holes do not align, parts deform, or the frame moves unexpectedly. Recheck orientation and foundation dimensions, then consult the supplier or a qualified professional before continuing.
Tools: Approved roof and opening drawings, specified fasteners, sealant or weatherproofing products, access equipment, and suitable fall-protection equipment where required.
Action: Install roof components, doors, windows, trims, and seals in the specified order. Protect exposed openings and unfinished areas from weather during assembly.
Parameters: Use only the products, overlap details, and fastening patterns approved for the model. Roof work and work at height require appropriate controls and competent workers.
Check: Inspect seams, flashings, closures, and seals against the installation details. Test doors and windows for smooth operation without forcing them.
If it fails: Find the cause of a gap or binding opening before adding sealant or adjusting hardware. Request the manufacturer’s repair detail if the cause is unclear.
Tools: Final inspection checklist, approved service drawings, test equipment appropriate to the trade, and any required inspection records.
Action: Have qualified tradespeople connect and test electrical, plumbing, or other services. Complete anchoring and weatherproofing as specified, then collect manuals, warranties, and inspection records.
Parameters: Follow applicable codes, permit conditions, and the manufacturer’s service instructions. Do not energize, occupy, or connect services before required inspections and tests are complete.
Check: Review structural connections, anchors, doors, windows, seals, service tests, and outstanding defects against the handover checklist.
If it fails: Keep the unit out of service where a safety-critical defect or failed inspection remains. Record the issue and obtain an approved correction and reinspection where required.
A useful customer case should identify the model, delivery arrangement, site conditions, crew and equipment used, assembly scope, and documented outcome. No independently verifiable customer project records were supplied for this article, so it does not present a named homeowner story, measured installation time, transport saving, or performance result as fact. Treating an invented or unattributed anecdote as a verified case would give buyers unreliable guidance.
When speaking with WZH Group or another supplier, request a reference project with permission to contact the customer, plus delivery records or installation documentation where available. Ask whether the reference used the same model, foundation, access conditions, and service configuration as your project. A case with different conditions may not predict your transport or assembly experience.
Why it happens: The buyer checked the finished unit size but not the vehicle route, turning space, overhead clearance, or unloading position.
Solution: Have the carrier assess the route using actual package and vehicle dimensions before dispatch. Agree on a safe alternative delivery or unloading plan in advance.
Why it happens: Anchor locations or level tolerances were assumed rather than checked against the model-specific plan.
Solution: Measure and document the foundation before delivery. Get the supplier or project professional to approve any proposed correction; do not pull the frame into alignment with bolts.
Why it happens: Components were not inventoried, labels were lost, or the crew assembled from photographs rather than the drawing set.
Solution: Photograph packages on arrival, reconcile the packing list, preserve labels, and stop if a structural part or connection is uncertain. Seek written clarification before substituting parts.
Why it happens: The frame may be out of alignment, seals may be missing or incorrectly installed, or the foundation may not meet the specified tolerance.
Solution: Trace the issue to its source and compare the assembly with the approved details. Do not conceal a structural or alignment problem with extra sealant.
Why it happens: The unloading plan and equipment requirements were not confirmed before the delivery date.
Solution: Delay the lift until a competent operator, suitable rated equipment, approved lifting points, and an exclusion area are in place. Never improvise a lift to keep a schedule.
A flat pack container house can simplify delivery when its components suit the route and the site has the space and equipment needed to unload them. Assembly is manageable only when the foundation, parts, crew, and approved instructions are ready. Before ordering, verify the package data, route, lifting plan, installation scope, and local requirements with the supplier. For a modular building or container home, those project-specific checks matter more than general claims about speed or convenience.
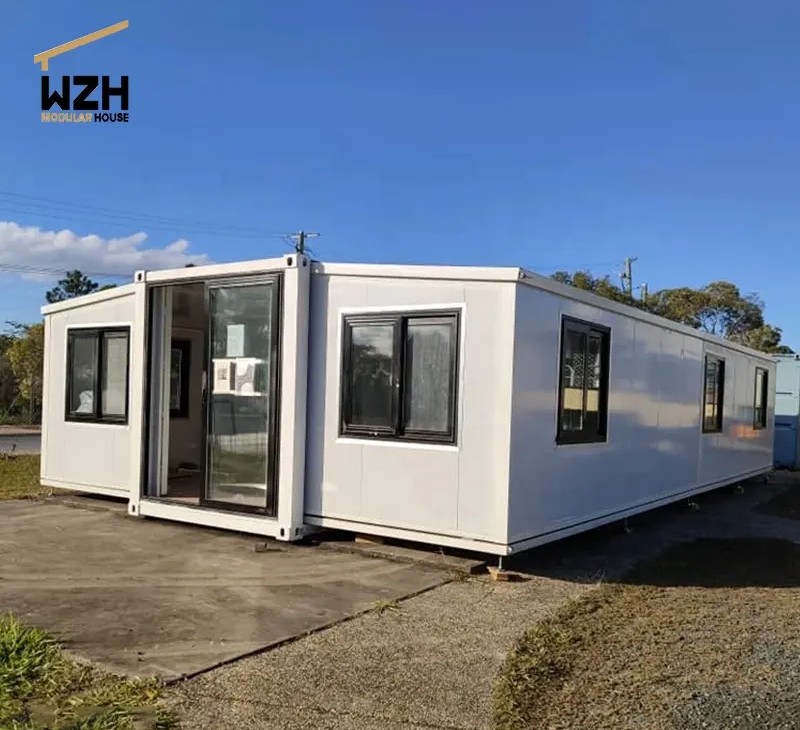 Extending the Life of a Container Home: Maintenance Tips
Container homes, known for their sustainability and unique design, can have a long lifespan with proper maintenance.
Nov. 08
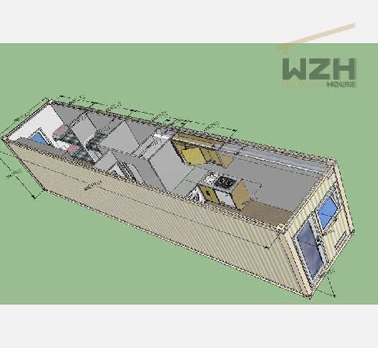 Five Inspection And Purchase Criteria For Occupant Containers
Currently, there are three series of international container standards with a total of 15 types.
Jul. 16
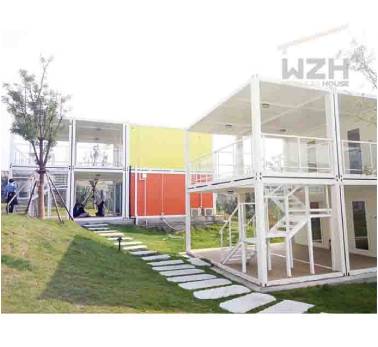 Some Information about the Container House
A container house refers to a house with windows and doors after a slight transformation, mainly based on containers. This type of container house is often used as a worker's dormitory on construction sites, and some people use it as a rental house. It is
Nov. 13

WEIZHENGHENG Modular House Technology CO.,LTD provides various configurations of Flat Pack container houses. It can meet the needs of home living.
Copyright © Hebei Weizhengheng Modular House Technology Co., Ltd. All Rights Reserved |Sitemap